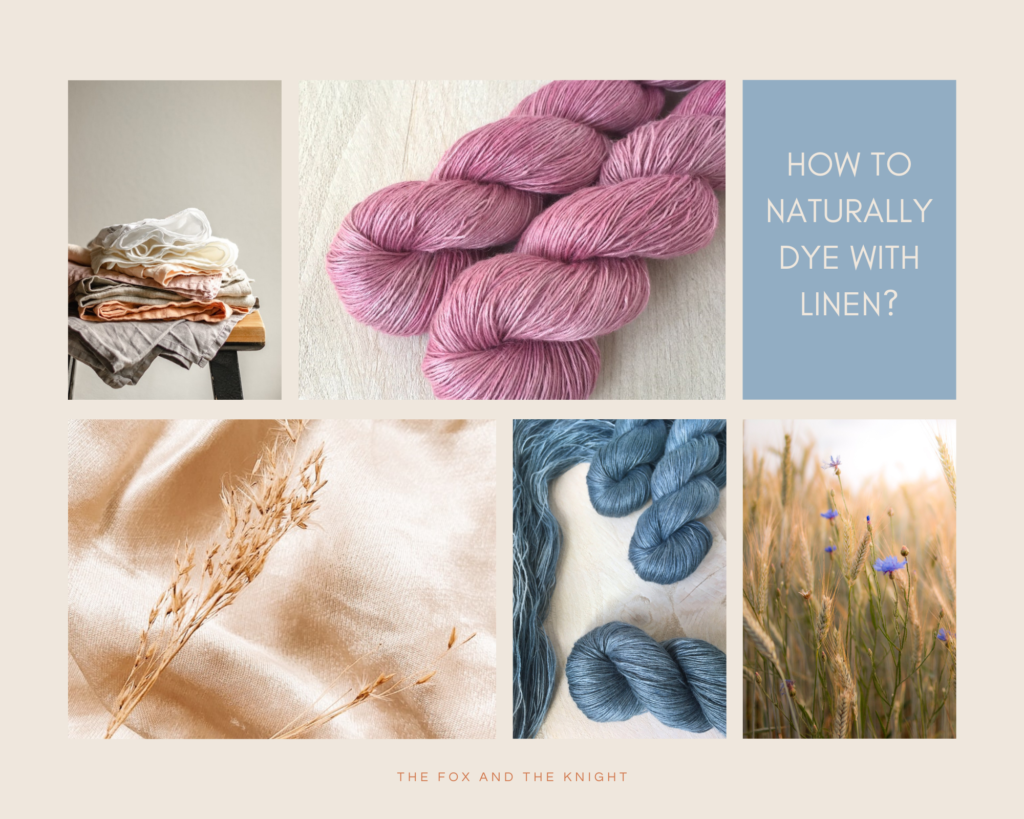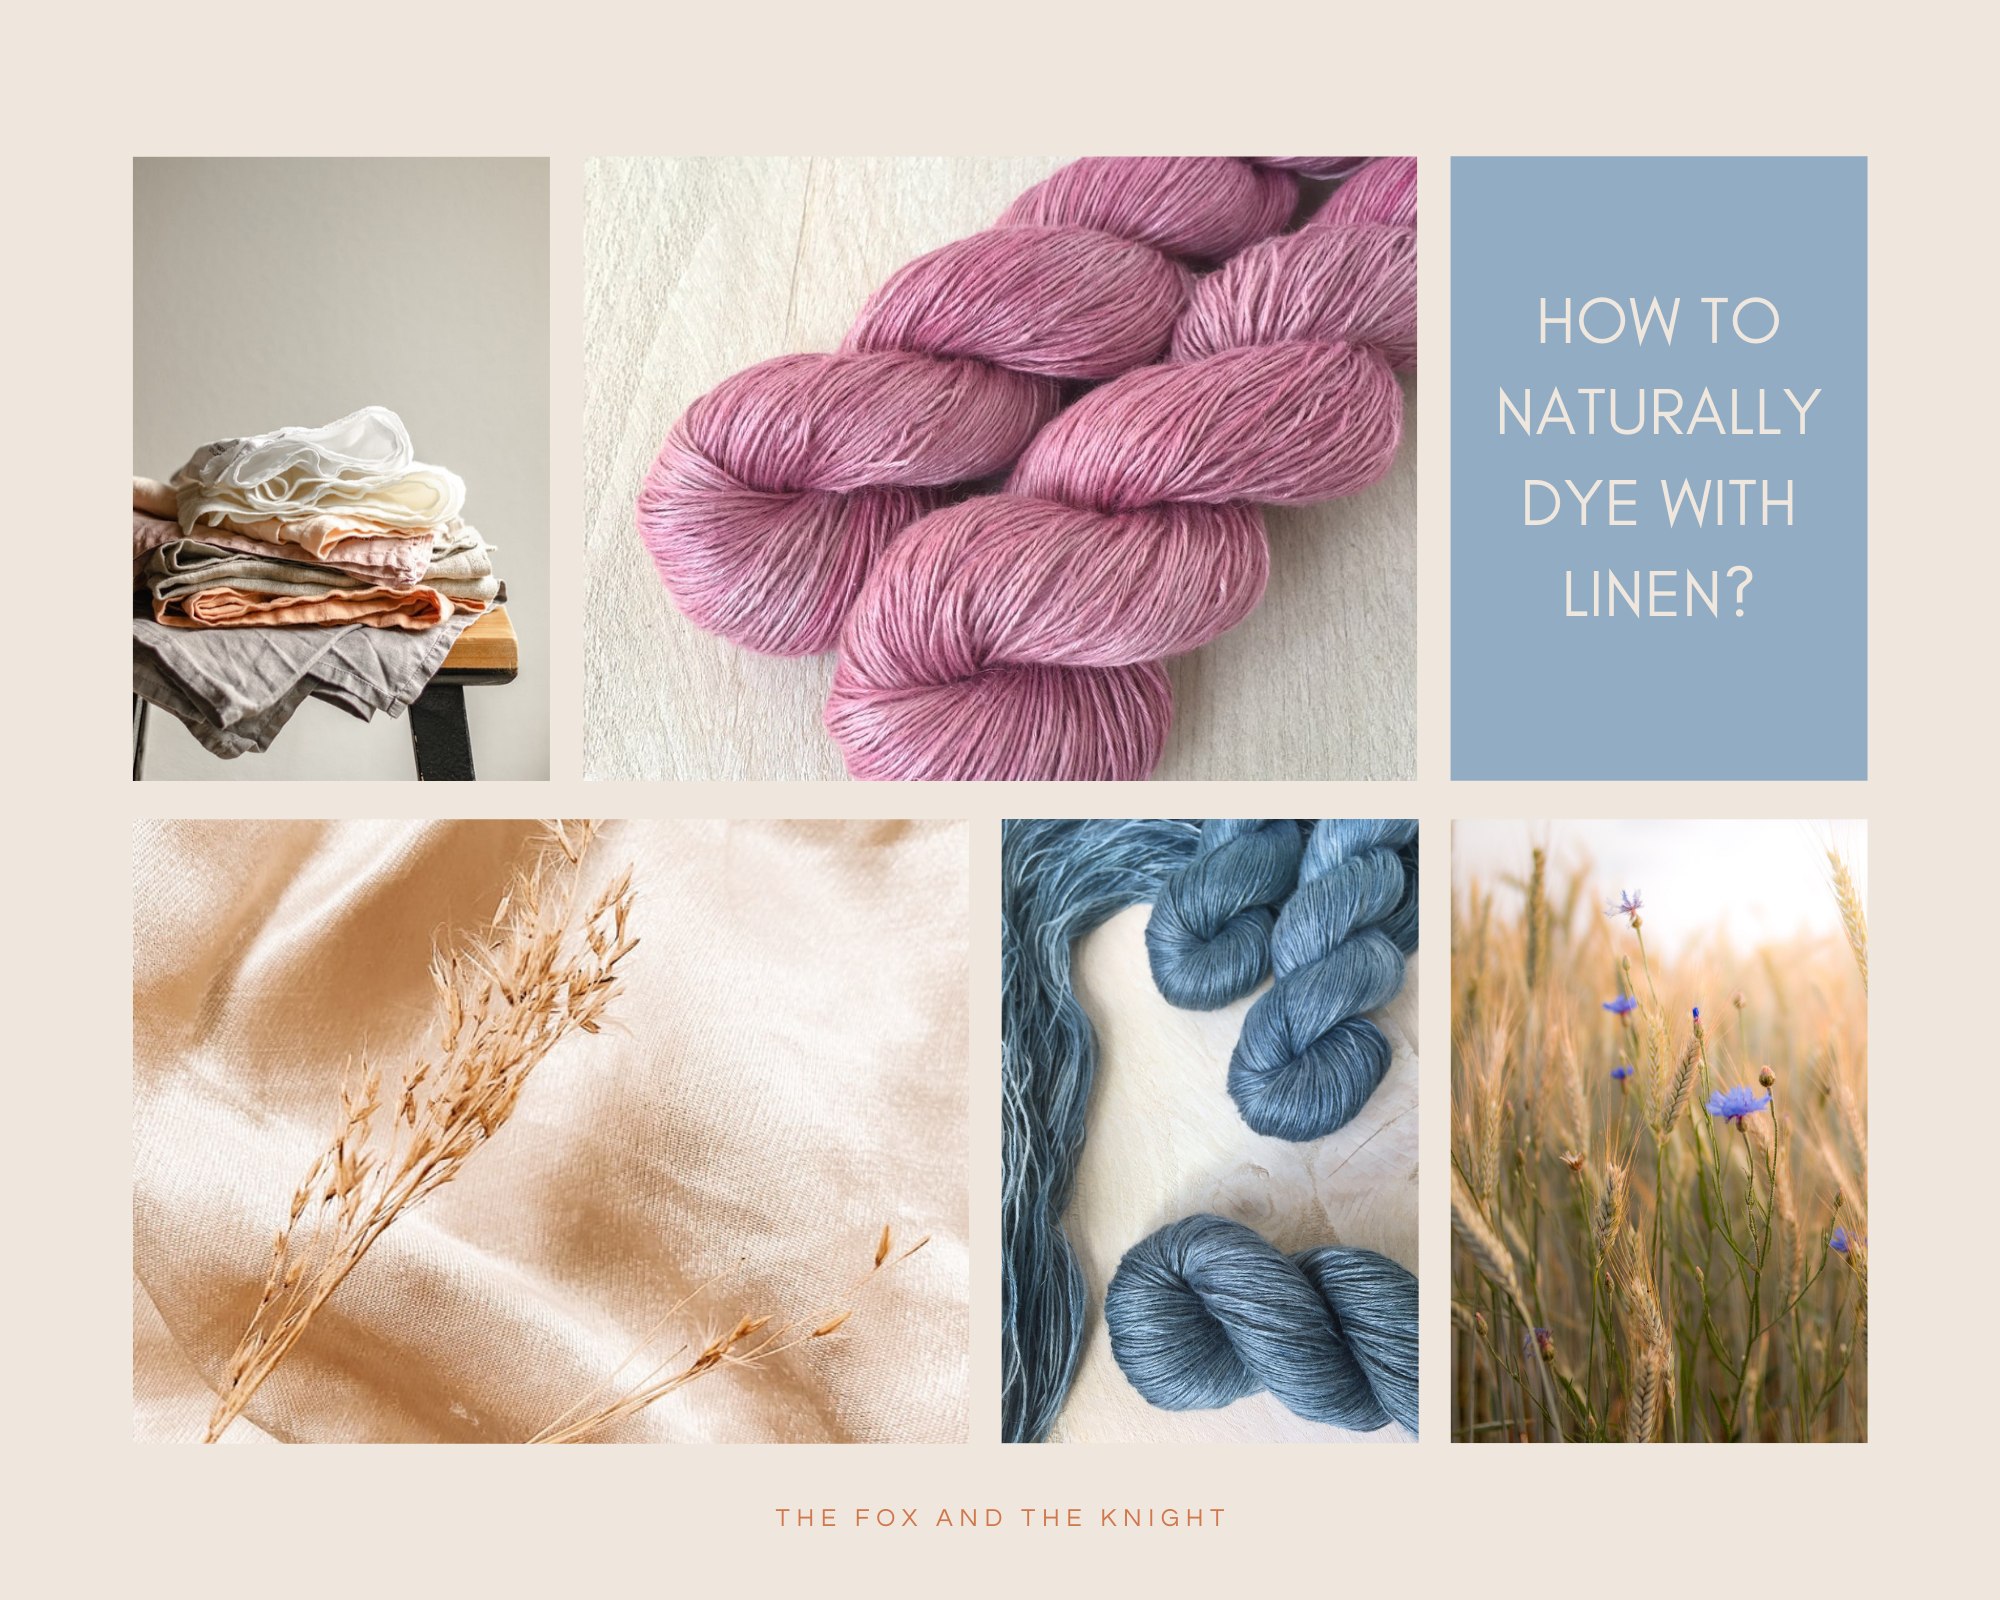
Today, let’s talk a bit about how to naturally dye with linen. I’ve been sharing a lot of natural dyeing recipes with you over these last months (the blog is going to be one year old this month, yeah!) but I was focusing more on wool.
The process to dye with linen is a little bit different, as it involves an additional step but fear not, we are going to detail these steps in this article!
What are the differences between protein fibres and cellulose-based fibres ?
When you start dyeing, be it natural dyeing or acid dyes, it’s not always clear to understand the differences between protein fibres and cellulose-based fibres. These differences are important since the dye will not react in the same way.
So what are proteins fibres?
Protein fibre, also called animal fibre, is a natural fibre like wool, mohair, alpaca, and silk.
So if you were wondering what protein fibre was, it’s probably the material you’re using the most to knit and dye with. Protein fibres take the dye better, meaning the colour will be generally deeper. But keep in mind that the same plant can give completely different colourways if you dye with a protein fibre or a cellulose-based fibre.
What are cellulose-based fibres?
Cellulose-based fibres are fibres not belonging to an animal. The cellulose-based fibres used the most come from plants like nettle, hemp, linen and of course cotton.
Interestingly, the oldest information we have about fibres are the discovery of both wool and flax fibres on an archaeological site in Switzerland. Linen comes from flax, once transformed, as I mentioned in our previous post about what linen yarn is and what to knit with it. So that brings us to today’s question: How can you naturally dye with linen?

You want to naturally dye with linen? The soja’s method of Rebecca Desnos
When I started dyeing, I only dyed with wool, exploring the roughest breeds and comparing them with the trendier and softer BFL and Merino.
But like everything, you want to experiment and go deeper, right?
I was seeing all these pretty fabrics dyed with natural dyes on Pinterest and Instagram and that’s how I discovered the work of Rebecca Desnos.
If you’re not familiar with her work, she doesn’t use animal fibres at all and dye with local dyestuff. She also limits her use of mordant by using only an alum pot for the addition of alum. Her philosophy is that things can fade away a bit and that’s part of life.
Rebecca Desnos’ method to dye with cellulose-based fibres, mostly cotton and linen is described step by step in her book Botanical Colour at your Fingertips. An interesting thing to mention is that she doesn’t use alum (outside of her pot) but soja milk. She leaves the fibres several hours in a pot to absorb soja before dyeing. It’s a method I used only once but you can find all the explanations in her book Botanical Colour at your Fingertips that I own in its digital version.
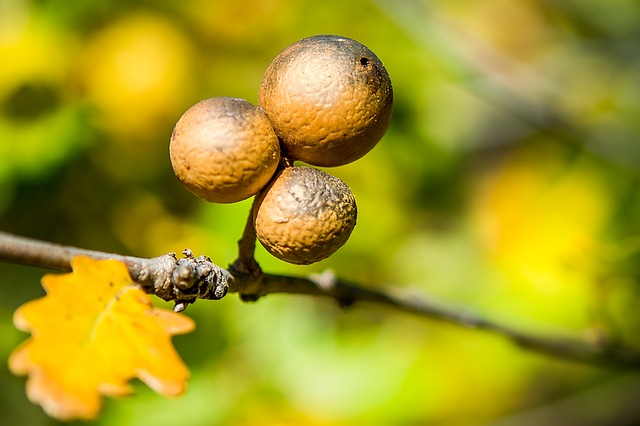
My method to naturally dye with linen using oak galls
So now let’s see another method together. It’s not a better method than the soja milk one. It’s just the method I prefer since you know I don’t really like using food for dyeing if it’s not already food waste.
To naturally dye with linen, I use oak galls before mordanting my fibres with alum. Some dyers say adding alum is not necessary with oak galls since it has a lot of tannins but I prefer to be extra safe.

For dyeing with linen, you will need:
100 gr of oak galls. I don’t use 100gr though. Once I crush it, I may use 25 to 50 gr depending on how many skeins I put in my pot.
Roughly 100g of the dyestuff of your choice. The idea is to get the same weight for the dyestuff and the items to dye.
A pot large enough for water, your dye stuff and your linen. Keep this pot for dyeing purposes only, especially if you choose to mordant your fibres and don’t use your dyeing material for cooking.
Process for naturally dyeing with linen
Start by crushing your oak galls into small pieces and wrap them into a cloth.
You’re going to extract the tannin by heating up the oak galls wrapped into the little cloth bag in a pot filled with water for a hour.
Add your mordant to the pot, following the recipe I gave in our post about 5 fun natural dyeing recipes for beginners to become a natural dyer.
Add your fibres to the pot so they can heat up slowly (never boiling) in the pot.
Let them cool down a whole night.
Remove your fibres from their mordanted and oak galls bath, gently remove the excess of water. The fibres should get slightly beige with the oak galls.
Fill a big pot with water then add the dyestuff of your choice.
Heat up the water but don’t let it reach the boiling point.
Let the pot of water and dye stuff simmer for 1 hour.
Turn the heat off and let it cool down a bit. It’ll give you richer and deeper colours if you leave it the whole night or at least several hours before straining your dye bath.
Now, it’s time to strain your dye bath. Use your sieve or your hands (with gloves) to strain your dye stuff .
Remove your fibres from their mordanted bath, gently remove the excess of water and let them soak all the colour up by immersing them in the dye bath.
Heat up the pot slowly again so it can simmer for about 1 hour.
Let it cool down.
Once again, it’s better to leave your fibres several hours or a whole night in the dye bath. This way, the colour will only get deeper.
Once it has cool down, rinse the fibres in cold water, let it dry and brag about your hard work!


