Natural dyeing recipes are fun and exciting! You can gather some plants on your morning walk or use food waste after making dinner.
But honestly? It can also be overwhelming.
Wondering where to start? Can everything be used? How to fix the color? Will this yellow flower give me yellow? (I learned quickly NOT to have expectations about colors.)
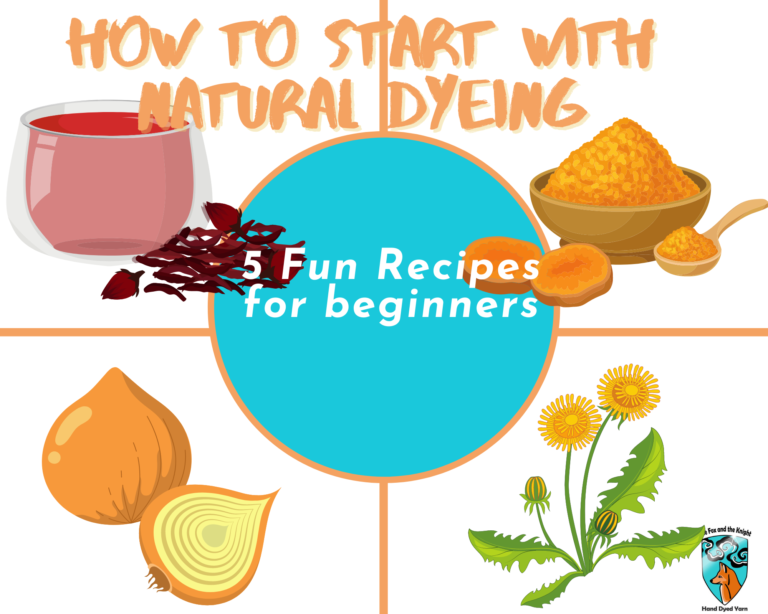
With my first few experiments, I started with ingredients you can easily find in a grocery store (yes mordant too) and I just had fun. So, after remembering how happy these first skeins made me, I decided to put together five natural dyeing recipes for beginners.
These recipes are especially tailored to start dyeing on a budget. After all, it’s so easy to be attracted to a shiny new craft and start spending money, only to realize it’s not your favorite hobby.
We have all started here so remember, just experiment and have fun!
First step of our natural dyeing recipes : washing your fibers
Before you start, you will have to scour your yarn to make sure it’s clean (so no dirt or oil from the machines) and fully ready to take up the dye.
I immerse the fibers in a pot full of lukewarm water and I add neutral PH soap (like the liquid I use to wash dishes by hands), then I let them soak 15 minutes and rinse with lukewarm water again.
Don’t use very hot water to avoid any temperature shock.
While the fibres soak, you can prepare your mordant bath.
Hot Tip!
Not sure you want to commit to natural dyeing by searching for mordant in specialized shops?
You can sometimes find solid alum bars in the barber section; they are used after shaving.
Grind it carefully. You don’t want to use too much or you will risk damaging the fiber.
Second step of our natural dyeing recipes: the mordanting process
What is a mordant and how to use it?
For the dye to last, you will need to mordant it first since the mordanting process “fix” the dye on the fibers by opening them. The most used mordant is Alum and then most dyers also use an assist. The assist is going to reinforce the fixing of the dye and for some dyes, it can also deepen the colour. The one I use is cream of tartar, generally associated with alum.
I got my recipe from one of Jenny’s Dean books (scroll down for the link) where she explains more in detail about the mordanting process. The general idea is to use 10% of alum and 8% of cream of tartar for 100g of wool/fabric.
I’m not the best at math so that scared me at first. But after several trials and using always the same big pots, I know I can’t dye more than 5 skeins at a time and so that means for me using one tablespoon and a half of alum and a teaspoon of cream of tartar.
The mordanting process:
- Fill one pot halfway with water and start heating it up slowly.
- Meanwhile, boil some water in an electric kettle. We are going to use it dissolve the alum.
- Add your tablespoon and a half of alum in a small container that you will keep only for dyeing purpose (I use an old Tupperware for this step).
- Then add the hot water and stir carefully to dissolve the alumn.
- Add your dissolved alum to the pot of lukewarm water.
- Then if you decide to use cream of tartar, let’s repeat the process:
- Boil some water.
- Add your teaspoon of cream of tartar in the same container. Carefully pour the hot water over it then stir to dissolve the cream of tartar.
- Add the dissolved cream of tartar to your pot of lukewarm water and dissolved alumn.
- And now it’s time to add our fibers so we can mordant them!
- Press gently to remove the excess of water then immerse your fibers in the pot.
- Let the fibers simmer gently for 45 minutes. We don’t want boiling water because it could damage the fibers. Don’t forget to stir from time to time then let it cool down. I prefer to leave the fibers all night to be sure it had a good soak but if you’re in a hurry, you can use your mordanted fibers once the pot is sufficiently cold.
Scouring, mordanting and dyeing is a 2 days minimum process for me. I make the yarn soak in the mordanted bath all night before dyeing to make sure the fibres have absorbed all of the mordant.
Now it’s time for the fun part! That’s right, we are going to dye!
Natural Dyeing Recipe 1: Dyeing with Onions Skins
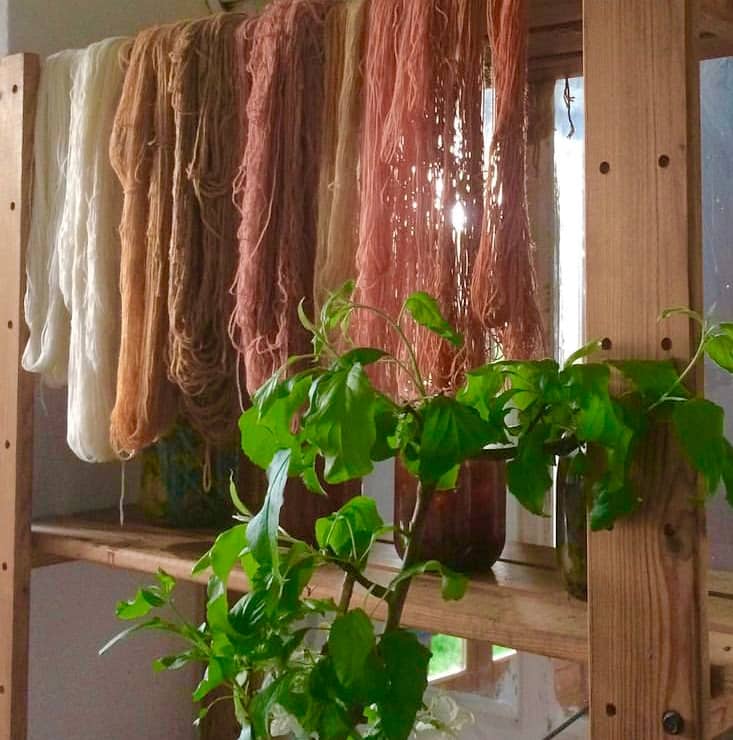
I can’t really talk about easy natural dyeing recipes without the staple from most kitchen: Onion skins!
For realizing a project with onion skins, you will need:
- One skein (100g) of animal fibers, generally wool.
- Roughly 100g of onion skins. The idea is to get the same weight for the dyestuff and the items to dye.
- A pot large enough for water, onions skins and your wool. Keep this pot for dyeing purposes only, especially if you choose to mordant your fibers and don’t use your dyeing material for cooking.
- A sieve (optional but this way you won’t have to pick by hand all the tiny bits of onions skins).
Dyeing Process:
- Remove your fibers from their mordanted bath, gently remove the excess of water
- Fill a big pot with water then add your onion skins.
- Heat up the water but don’t let it reach the boiling point.
- Let the pot of water and onion skins simmer for 1 hour.
- Turn the heat off and let it cool down a bit.
- Now, it’s time to strain your dye bath. Use your sieve to strain your onion skins (or a spoon if you are like me and misplaced-again- your dyeing sieve. They did say natural dyeing was a work of patience.)
- Now, we have a proper dye bath ready to welcome your fibers babies! All this hard work will pay off, I promise.
- Remove your fibers from their mordanted bath, gently remove the excess of water and let them soak all the color up by immersing them in the dye bath.
- Heat up the pot slowly again so it can simmer for about 1 hour.
- Let it cool down.
- If you have time (bear with me, I know your patience is running out), then let the fibers cool down in the pot several hours or even the whole night to make sure it has soaked up all the dye.
- Rinse the fibers in cold water, let it dry and admire your hard work!
Hot Tip!
If you have the possibility to sacrifice a second pot for dyeing, then it’s better to soak your dyeing material (flowers, leaves, bark,…) the night before dyeing.
This way, the colour extracted will be deeper and more vivid.
While your fibers are taking a night bath, you can bring your second pot to heat up near boiling point with your plants material for 45 minutes then let it soak overnight.
Be careful and don’t let your water boil because it can ruin some plants and muddle the color extracted.
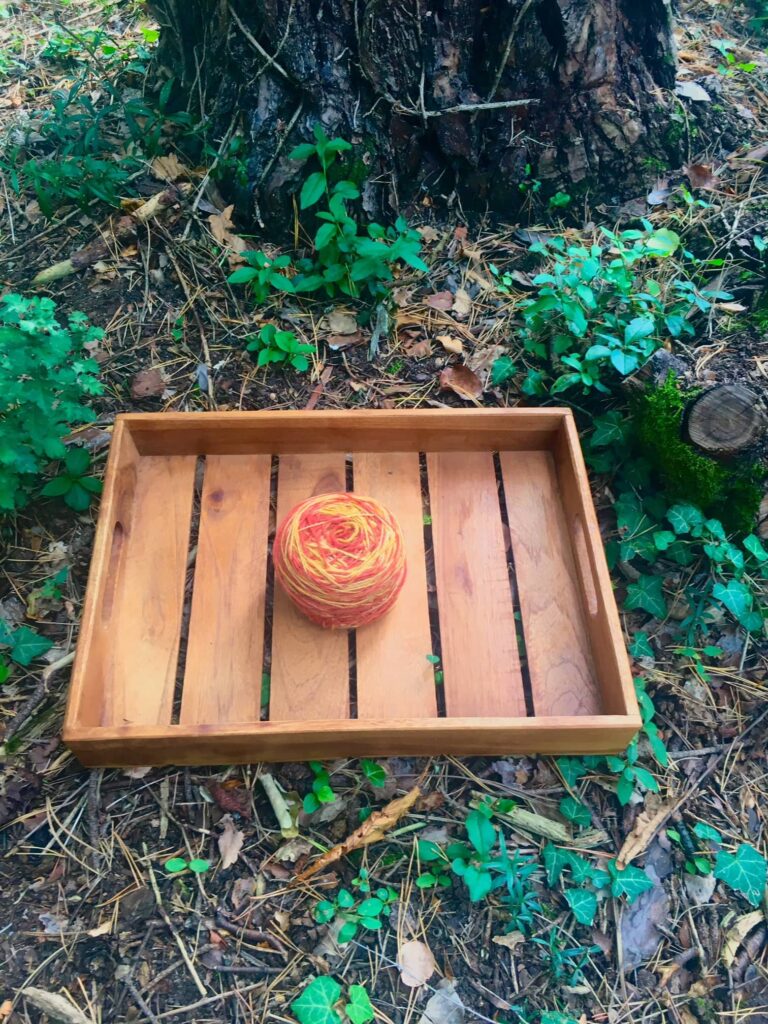
Natural Dyeing Recipe 2: Dyeing with Hibiscus Tea
I know that most natural dyeing recipes from your kitchen call for tea or coffee and it’s interesting, don’t get me wrong.
But you’ve come here because you want something a bit more exciting, amiright?
So I, too, experimented with coffee and tea in my first forays into natural dyeing, then I bought red fruits tea and hibiscus tea.
Hibiscus tea is the only one I still use from time to time when I want something soft and fun.
For realizing a project with Hibiscus Tea, you will need:
- 1 skein (100 g) of animal fibers, generally wool.
- Roughly 100g of hibiscus flowers. The idea is to get the same weight for the dyestuff and the items to dye.
- A pot large enough for water, hisbiscus flowers and your wool. Keep this pot for dyeing purposes only, especially if you choose to mordant your fibers and don’t use your dyeing material for cooking.
- A sieve (optional but this way you won’t have to pick by hand all the tiny bits of hibiscus flowers).
Dyeing Process:
- Remove your fibers from their mordanted bath, gently remove the excess of water
- Fill a big pot with water then add your hibiscus flowers.
- Heat up the water but don’t let it reach the boiling point.
- Let the pot of water and hibiscus flowers simmer for 1 hour.
- Turn the heat off and let it cool down a bit.
- Now, it’s time to strain your dye bath. Use your sieve (or a spoon if you have the patience )to strain your hibiscus flowers. Or just go wild and decide to leave the flowers to take a bath with your yarn and then pick them one by one out of the fibers during the rinsing and drying process.
- Now we have a proper dye bath ready to welcome your fibers babies! All this hard work will pay off, I promise.
- Remove your fibers from their mordanted bath, gently remove the excess of water and let them soak all the color up by immersing them in the dye bath.
- Heat up the pot slowly again so it can simmer for about 1 hour.
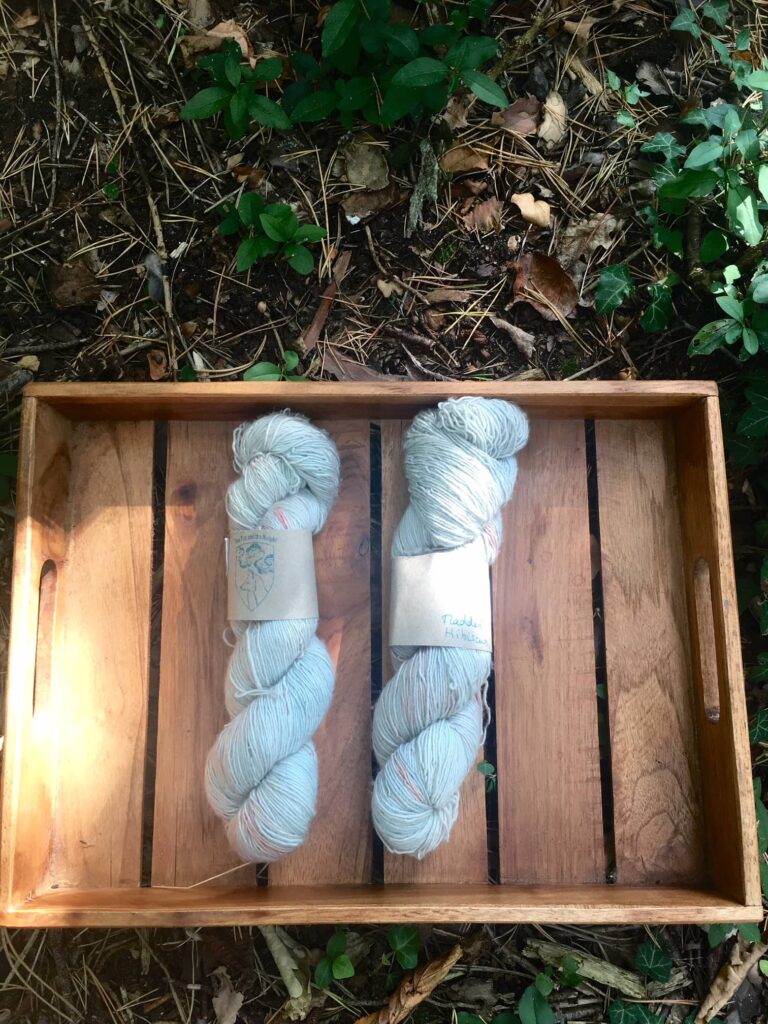
- Okay, so here is the secret tip I’m sharing with you. Immerse your fibers in the hibiscus infused water, they will turn pink after 15/20 minutes depending on much hibiscus flowers you used. Then take them immediately out of the water and they are turning blue. It’s Science Magic!
- Now let your fibers cool down outside of the water.
- Rinse the fibers in cold water, let it dry and admire your hard work! You just did science magic!
Hot Tip!
Here is my super secret tip!
Hibiscus will give you a pretty soft pink in water. But if you take it immediately out, then another color happens!
Let me guide you through the natural dyeing recipe first.

Play with hibiscus flowers, make your own natural dying recipe and tell me how it turned out for you!
I read that you can also get a deep purple this way but my range of colors has always been between pale blue and blue-purple.
Keep in mind that dyes will turn out differently depending if your water is more acidic or very hard.
Natural Dyeing Recipe 3: Dyeing with Henna
Henna is another one of these cool natural dyes easily available, especially if you use it already as a natural dyeing recipe for your hair or eyebrows.
For realizing a project with henna, you will need:
- One skein (100g) of animal fibers, generally wool.
- Henna: I generally use 2 tbsp but you can use less or more, depending on the intensity you want.
- A pot large enough for stirring your wool without splashing water everywhere. Keep this pot for dyeing purposes only, especially if you choose to mordant your fibers and don’t use your dyeing material for cooking.
Dyeing Process:
- Remove your fibers from their mordanted bath, gently remove the excess of water.
- Fill a big pot with water then add your henna. Stir well to dissolve the powder.
- Heat up the water but don’t let it reach the boiling point.
- Let the pot of water and henna simmer for 1 hour.
- Turn the heat off and let it cool down a bit.
- Remove your fibers from their mordanted bath, gently remove the excess of water and let them soak all the color up by immersing them in the dye bath.
- Heat up the pot slowly again so it can simmer for about 1 hour.
- Let it cool down.
- If you have time and the patience, then let the fibers cool down in the pot several hours or even the whole night to make sure it has soaked all the dye.
- Rinse the fibers in cold water, let it dry and admire your hard work!
Hot Tip!
The range of colors extracted from henna can go from dark yellow all the way to a light brown. I often get a wonderful dark orange.
Be careful and stay away from black henna. It has chemical ingredients added to it and is really bad for your health.
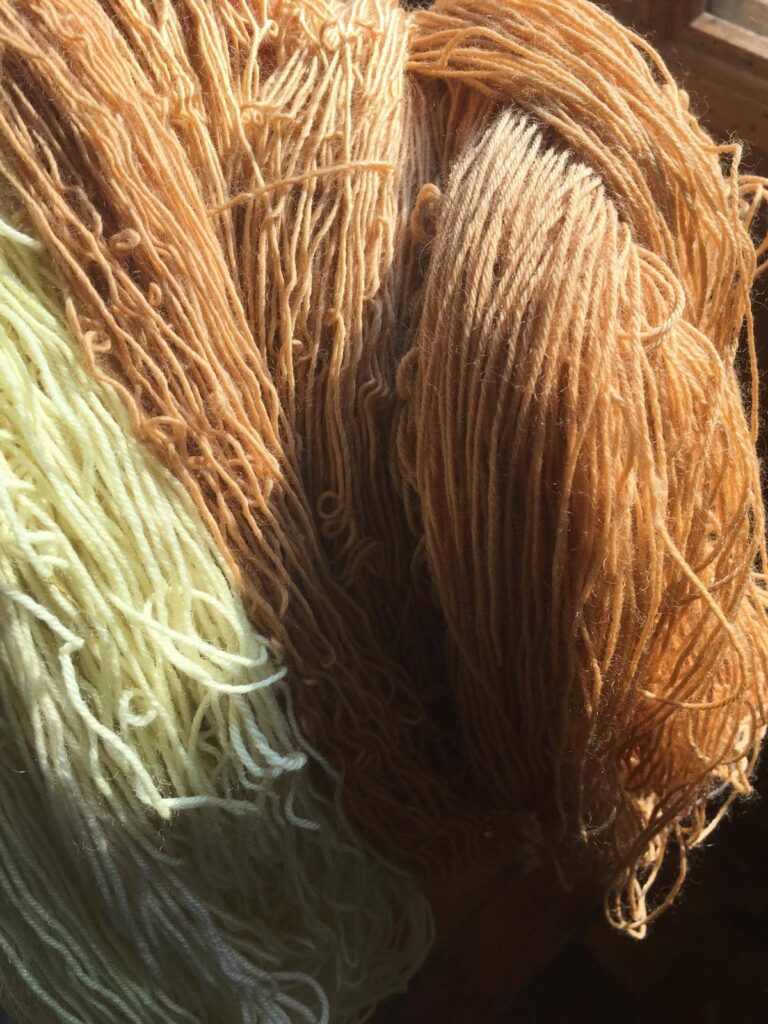
Did you know the Ancient Egyptians used henna to paint the mummies nails? Another cool natural dyeing recipe to brag about!
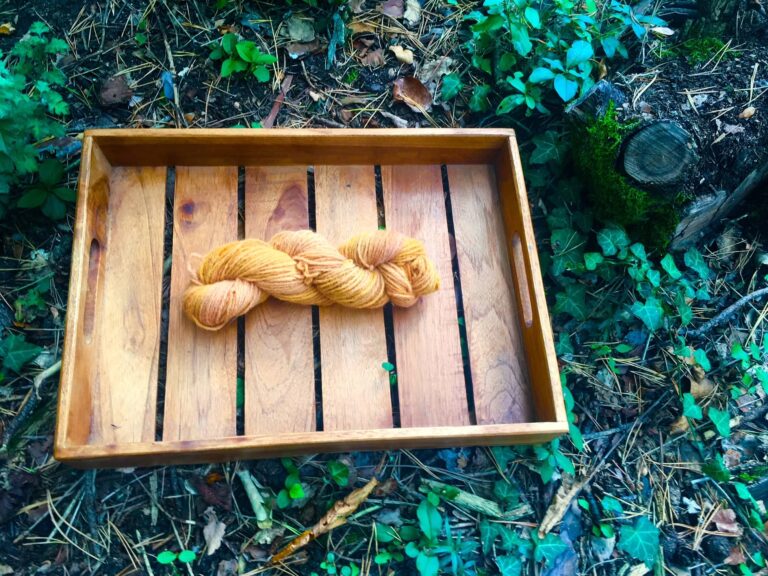
Natural Dyeing Recipe 4: Dyeing with Turmeric
Turmeric is a spice easily available or already in your kitchen. So this dye is generally a good candidate for quick and cheap experimentation.
Sadly, Turmeric is also one of these lightfast dyes, meaning the bright yellow will fade quickly when exposed to the light.
That being said, even synthetic dyes fade if left directly into the sun for too long. So don’t make this stopping you from having fun with this multi-purpose spice.
Just don’t use your fiber for something that will need lots and lots of washing and don’t leave it in the sun (it’s better to avoid leaving your dyes in the sun anyway).
All of this being said, I think it’s a really cool dye to start dyeing by yourself or with kids. It’s bright, slightly messy and perfectly safe. Perfect natural dyeing recipe to reveal your inner plants witch or earth fairy!
For realizing a project with turmeric, you will need:
- One skein (100g) of animal fibers, generally wool.
- Turmeric powder: I generally use 4 tbsp but you can use less or more, depending on the intensity you want.
- A pot large enough for stirring your wool. Keep this pot for dyeing purposes only, especially if you choose to mordant your fibers and don’t use your dyeing material for cooking.
Dyeing Process:
- Remove your fibers from their mordanted bath, gently remove the excess of water.
- Fill a big pot with water then add your turmeric.
- Heat up the water but don’t let it reach the boiling point.
- Let the pot of water and turmeric simmer for 1 hour. If you used muslin, then press it gently from time to time to extract more of the spice. If you didn’t, then stir gently to dissolve the turmeric.
- Turn the heat off and let it cool down a bit.
- Remove your fibers from their mordanted bath, gently remove the excess of water and let them soak all the color up by immersing them in the dye bath.
- Heat up the pot slowly again so it can simmer for about 1 hour.
- Let it cool down.
- If you have time and the patience, then let the fibers cool down in the pot several hours or even the whole night to make sure it has soaked all the dye.
- Rinse the fibers in cold water, let it dry and admire your hard work!
Hot Tip!
I find it easier to put the turmeric powder in a bag of muslin so I don’t have to rinse several times the fibers with yellow spice everywhere.
Muslin bags work for powder dyes but also when you don’t want to use a sieve!
Take a moment to be proud of yourself! You are using a dye used since Antiquity!
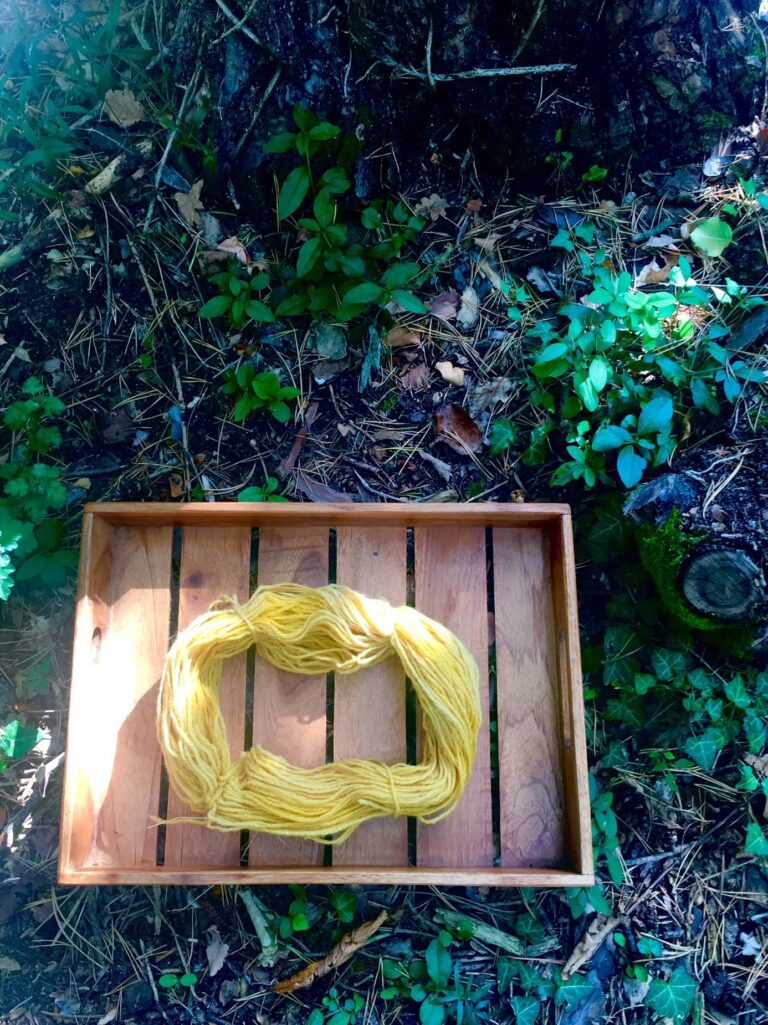
Natural Dyeing Recipe 5: Dyeing with Dandelions
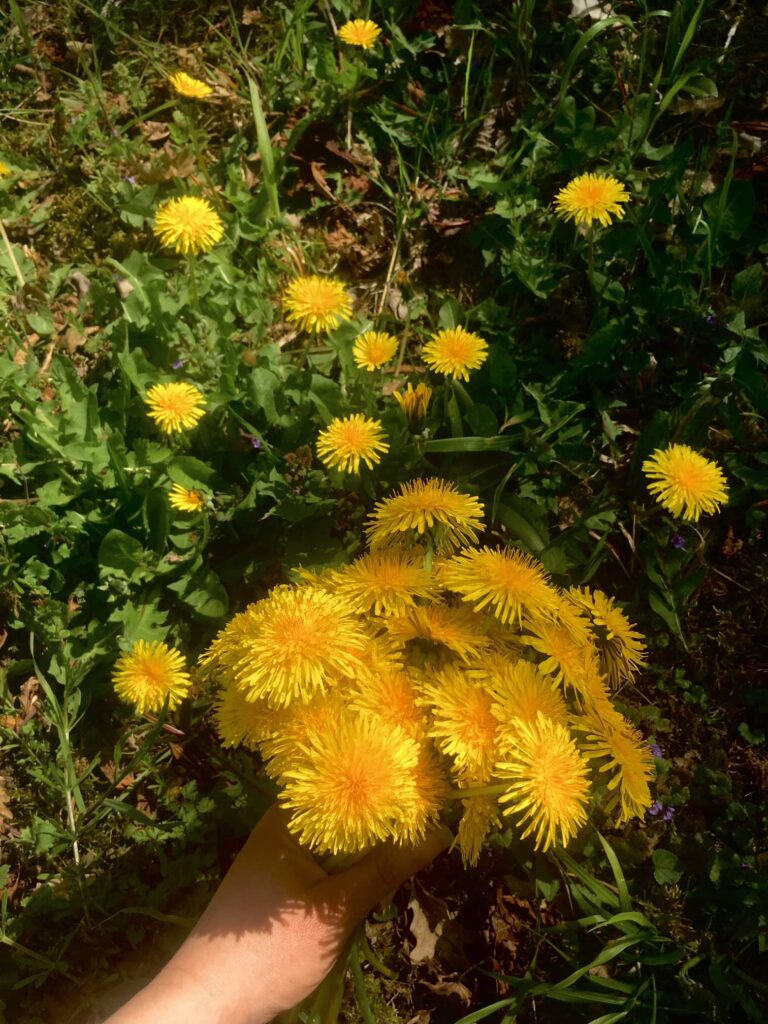
For our last recipe, I chose dandelions.
They are often overlooked but they are probably one of the most easier flowers to find, they won’t cost you anything and they have a ton of useful properties and not just as a natural dyeing recipe!
Also they make such a cheerful bouquet!
For realizing a project with dandelions, you will need:
- One skein (100g) of animal fibers, generally wool.
- Roughly 100g of dandelions. The idea is to get the same weight for the dyestuff and the items to dye.
- A pot large enough for water, dandelions and your wool. Keep this pot for dyeing purposes only, especially if you choose to mordant your fibers and don’t use your dyeing material for cooking.
- A sieve (optional but this way you won’t have to pick by hand all the dandelions).
Dyeing Process:
- Remove your fibers from their mordanted bath, gently remove the excess of water
- Fill a big pot with water then add your dandelions.
- Heat up the water but don’t let it reach the boiling point.
- Let the pot of water and dandelions simmer for 1 hour.
- Turn the heat off and let it cool down a bit.
- Now, it’s time to strain your dye bath. Use your sieve to strain your flowers. If you prefer not to, then wait until it’s time to rinse off to remove the bits of flowers.
- Remove your fibers from their mordanted bath, gently remove the excess of water and let them soak all the color up by immersing them in the dye bath.
- Heat up the pot slowly again so it can simmer for about 1 hour.
- Let it cool down.
- If you have time (by now, you probably are tired of being so patient all the time), then let the fibers cool down in the pot several hours or even the whole night to make sure it has soaked all the dye.
- Rinse the fibers in cold water, let it dry and feel this connection to nature! Just kidding. Or not. If you want your next step to be running into the wood and forming a coven there while practicing your new natural dyeing recipes, then do you!
Hot Tip!
Be careful not to boil the flowers. They look tough but they are actually more fragile than we think.
I once used water way too hot and my dandelions dye bath was a very pale yellow. With simmering water, you should reach a pretty vivid yellow!
Just remember to be gentle with the flowers ; )
Want some links to go further?
I recommend the book Wild Colours by Jenny Dean. It’s full of natural dyeing recipes, tips and advices and I always come back to it.
As for other plants and natural dyeing recipes and resources online: Botanical Colors has articles about all things botanical and not just natural dyeing recipes. I particularly enjoy their features with textile artists.
If you prefer to sample your content through podcasts, then A Verb For Keeping Warm has now a podcast about textile art. For more natural dyeing recipes, make sure to check their book The Modern Natural Dyer by Kristine Vejar!
Want some seasonal dyeing recipes ? For autumn dyeing, we have a full blog post dedicated to the walnut tree and how to dye with it!
Thank you for reading!
Ask any question and tell us all about your projects by sharing your comments below!
Happy dyeing!
